ATE - Using the Bundle
General Rules for sending
An email will be sent if the following criteria are met:
The Customer Preference for the transaction type is ticked
The Email Status on the Transaction is To Send or Bulk Send
The email field is populated. Note that if the transaction email preference field is not populated, then it will use the default email field on the customer.
Email Preference To Send
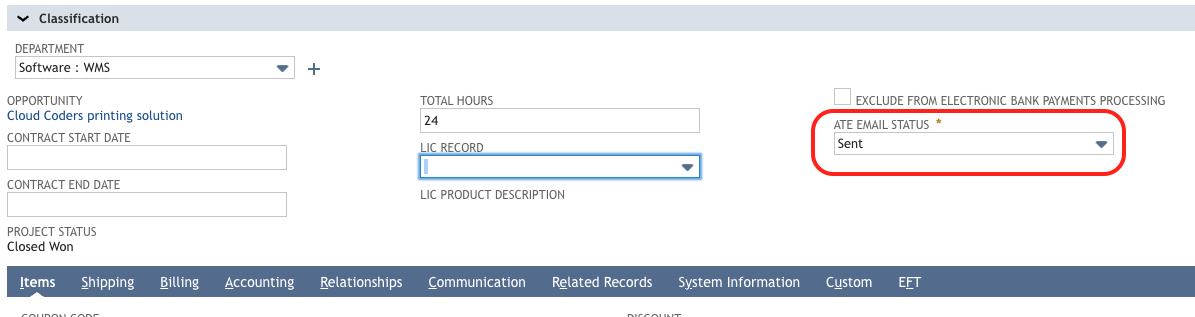
When a transaction is loaded, the Email Status is now a field that, by default, appears on the main subtab of the transaction. It is set as per the configuration from the related ATE Email Preference record:
You can change the email field if required:
Once the Transaction is saved, the email is queued and sent. A copy of the message will be attached to the transaction, and the email status will be updated to Sent.
Email Preference Bulk Send
Using these preferences puts all the transactions into a queue. The queue can be accessed under Transactions > Transaction Emailing > <<transactiontype>>:
Select Mark All to send all transactions via NetSuite's Scheduled Job manager.
Sending Statements
Go to
Transactions > Transaction Emailing > Statements
Select the Start Date, Statement Date and whether to send only open or all Statements
Select Mark All or the individual customers
Click e-mail
The Customers will be sent to a queued job to process.

Only customers with a balance are displayed on this form.
Test/User Procedures
The process is as follows:
Edit the Customer. Ensure the appropriate transaction preferences on the Preferences tab are ticked.

Create a quote transaction. Check the appropriate email field on the Communication tab and change if necessary.

Change the e-mail Status field on the ATE Transaction Status sublist To Send
For To Send, check the details on the transaction, then click save.
A history of the messages is on the Messages subtab of the Communication Tab of the Transaction
The administrator who installs this bundle can distribute or adapt these user procedures as needed.